Installation
Hint: In case you just want to take a quick peek at how the frontend works, you can skip ahead and setup a database and server later. Just head over to the frontend section and start Vite in production mode.
Prerequisites
Before we begin, ensure that you have the following installed on your local machine:
- Docker (optional)
- Postgres (optional)
- Node.js (version 16 or higher)
- npm (version 8 or higher)
Note, that using node v14 or below will throw an error. This will be fixed in a future release, but for now you have to use node v16 or higher.
If you want to persist the data created by React Server, you will need a database1. If you just want to play around, you don't need a database. However, all states will be gone after a server restart1.
1 - You can pass a fileName option to MemoryStore to persist data between restarts.
Get PostgreSQL running
These steps are only necessary if you want to use a postgres database
- Install Docker Desktop if you haven't done that yet.
Pull the postgres image and run it
docker pull postgres
docker volume create react-server
docker run --name react-server -e POSTGRES_PASSWORD=mysecretpassword -e POSTGRES_USER=postgres -p 5433:5432 -v react-server:/var/lib/postgresql/data -d postgres
That's it, your database should be running and is ready for use.
Init Table
In order for react-server to connect to your database, you need a states table. Connect to the postgres instance from a docker terminal.
docker exec -it container_id /bin/bash
This gives you a terminal on the container which you can use to connect to postgres:
psql -U postgres
Copy and paste the following SQL code into the postgres shell and hit enter.
CREATE TABLE states
(
    id SERIAL,
    key character varying(255) NOT NULL,
    scope character varying(255),
    value json,
    CONSTRAINT states_scope_key_unique UNIQUE (scope, key)
);
That's all you need to do to prepare the database. Your React Server instance should now connect to the database.
Get a Server running
Important: Make sure Postgres is running on port 5433
npx degit state-less/clean-starter my-server
cd my-server
yarn
cp .env.template .env
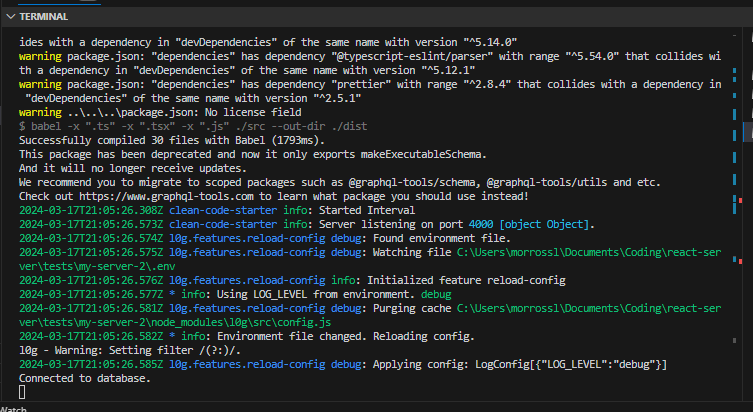
yarn start
Don't forget to run web-push generate-vapid-keys to generate a new VAPID key for your server.
Update your .env file accordingly.
Get a Client running
Quickstart
You can use our template to quickly setup a new frontend:
npx degit state-less/template-vite-react-server my-frontend
cd my-frontend
yarn
yarn dev --mode=production
This will clone our template with all the neccessary code to connect to a React Server instance.
Note: Starting the server in production mode connects to our live server, so you can take a look at the frontend without starting a server yourself.
Manual Setup with Vite
Create a new vite project and choose React as framework and TypeScript as variant.
yarn create vite my-frontend
Now go to the newly created folder, install the dependencies and add @apollo/client and @state-less/react-client to your project and start the server.
cd my-frontend
yarn
yarn add @apollo/client @state-less/react-client
yarn dev
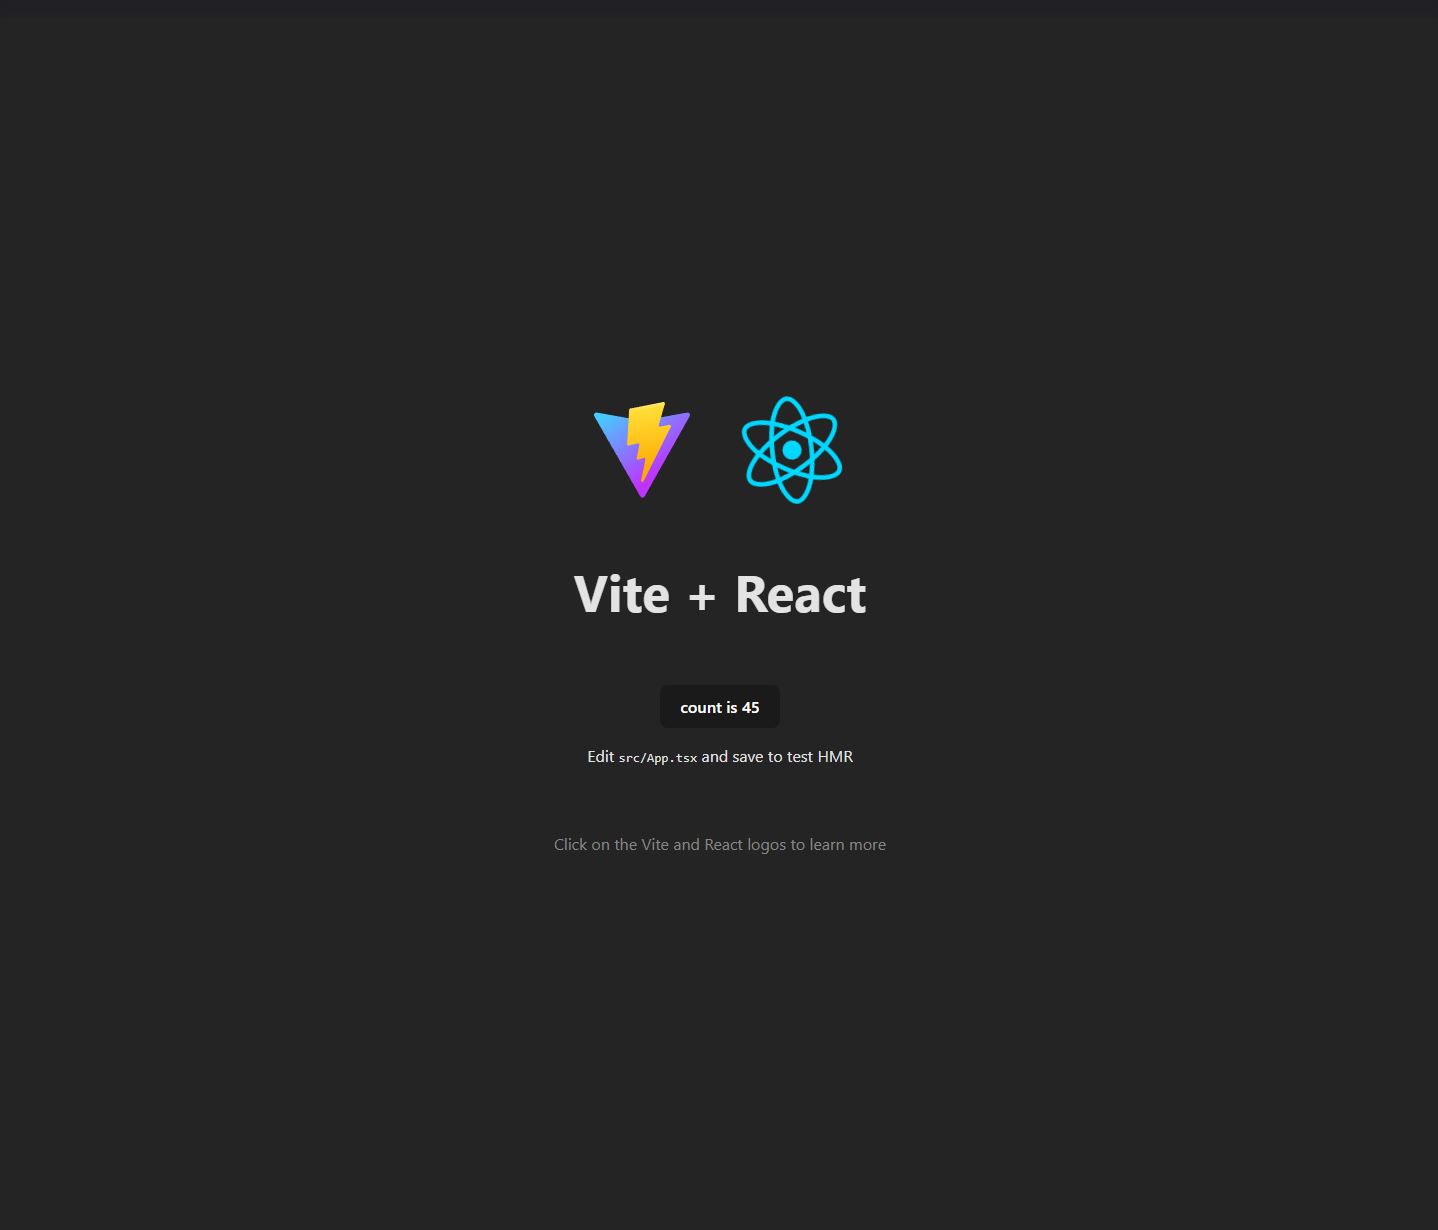
If you click the button, you will see the counter increase, but if you reload the page, the counter resets to 0. Let's connect the state to our backend to make it serverside and persist over page reloads.
Instantiate a GraphQl client
In order to connect to our backend, we need to create a GraphQl client. Create a new file under my-frontend/src/lib/client.ts and paste the following content.
import { ApolloClient, InMemoryCache, split, HttpLink } from "@apollo/client";
import { WebSocketLink } from "@apollo/client/link/ws";
import { getMainDefinition } from "@apollo/client/utilities";

// Create an HTTP link
const localHttp = new HttpLink({
  uri: "http://localhost:4000/graphql",
});

// Create a WebSocket link
const localWs = new WebSocketLink({
  uri: `ws://localhost:4000/graphql`,
  options: {
    reconnect: true,
  },
});

// Use the split function to direct traffic between the two links
const local = split(
  ({ query }) => {
    const definition = getMainDefinition(query);
    return (
      definition.kind === "OperationDefinition" &&
      definition.operation === "subscription"
    );
  },
  localWs,
  localHttp
);

// Create the Apollo Client instance
export const localClient = new ApolloClient({
  link: local,
  cache: new InMemoryCache(),
});

export default localClient;
This sets up a new GraphQl client with subscriptions which will be used by the React Server client. The subscriptions are needed in order to make your app reactive.
Note: For now you need to manually create this file, but it will later be created by an initializer or react-client will provide a way to bootstrap the graphql client by providing an url pointing to a react server. For now you need to manually create and provide a GraphQl client.
Edit my-frontend/src/App.tsx
It's been a long way, but all that's left to do is import the client and useServerState hook and find and replace the following parts of App.tsx. By changing useState call with a useServerState call you create a state on the server.
import { useServerState } from "@state-less/react-client";
import client from "./lib/client";
const [count, setCount] = useServerState(0, {
  key: "count",
  scope: "global",
  client,
});
<button onClick={() => setCount(count + 1)}>count is {count}</button>
If you press the button it increases as before, but the count stays the same after a page reload. If you have a database connected to your server the count will be loaded from the database after a server restart.
Play around
That's all. Make sure the backend react server is running and click the button.
For a quick peek at how code written with React Server looks like, visit this page
We also have a few demo applications. Feel free to take a look at them, to see what you can build with React Server.
- Lists - a minimal Todo List application.
- JavaScript Forum - a forum around JavaScript.
If you already have a React Server instance running and want to host one of our open source applications, see the state-less/leap-backend and state-less/leap-frontend repos. It just takes a few minutes to setup.